A STEP-BY-STEP GUIDE: HOW TO INSTALL A VINYL FENCE LIKE A PRO

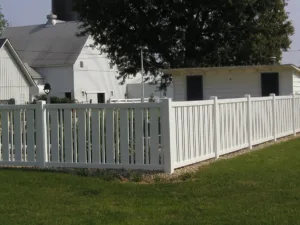
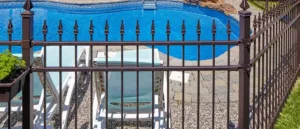
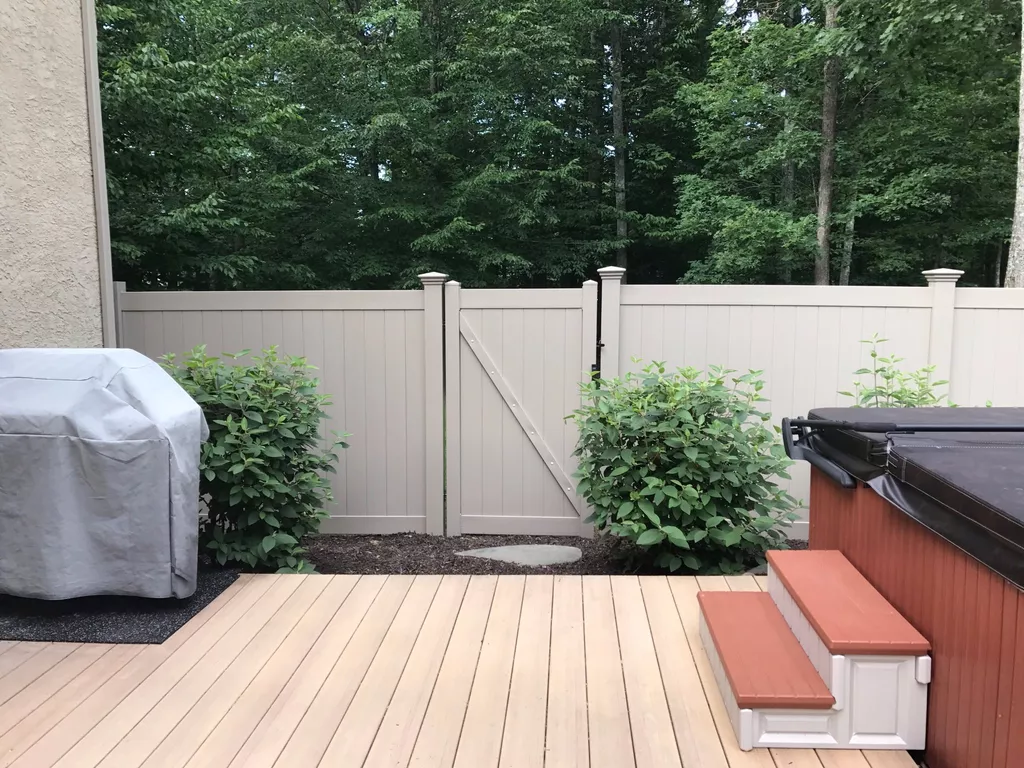
A Step-by-Step Guide: How to Install a Vinyl Fence like a Pro

Vinyl fences have become increasingly popular in recent years due to their durability, low maintenance, and aesthetic appeal. Whether you’re looking to enhance the privacy of your property or add a decorative touch to your garden, installing a vinyl fence is a great option. In this step-by-step guide, I will walk you through the process of installing a vinyl fence like a pro.

Advantages of Installing a Vinyl Fence

Before we dive into the installation process, let’s explore the advantages of choosing a vinyl fence. One of the biggest benefits is the durability and longevity of vinyl. Unlike wood or metal fences, vinyl fences are resistant to rot, rust, and insect damage. This means you won’t have to worry about replacing boards or dealing with unsightly stains.

Another advantage of vinyl fences is their low maintenance requirements. Unlike wood fences that need to be repainted or stained regularly, vinyl fences only require occasional cleaning with soap and water. This not only saves you time but also money in the long run.

Vinyl fences also offer a wide range of design options. From classic white picket fences to modern privacy panels, there is a style to suit every taste. Additionally, vinyl fences are available in various colors, textures, and heights, allowing you to customize your fence to match your home’s exterior and landscaping.

Tools and Materials Needed for Installation

Before you start the installation process, gather all the necessary tools and materials. Here’s a list of what you’ll need:

  1. Vinyl Fence Panel 
  2. Vinyl Fence Post
  3. Concrete mix
  4. Post hole digger
  5. Level
  6. Measuring tape
  • Measuring tape
  • String or chalk line
  • Shovel
  • Screwdriver or drill
  • Screws or brackets
  • Gate hardware
  • Vinyl fence caps
  • Having all the tools and materials ready will ensure a smooth and efficient installation process.

Preparing the Area for Installation

Before you begin installing your vinyl fence, it's important to prepare the area properly. Start by clearing any debris or vegetation from the fence line. Trim any bushes or trees that may obstruct the fence installation. This will ensure that the fence has a clear path and is not hindered by any obstacles.

Next, check with your local utility companies to locate any underground utilities, such as gas, water, or electrical lines. It's crucial to avoid accidentally damaging these utilities during the installation process. Once you have confirmed the locations of underground utilities, mark them clearly to prevent any mishaps.

Lastly, ensure that the ground is level and free from any major obstructions. If there are any areas with uneven ground, you may need to level or make adjustments to ensure a straight and sturdy fence installation.

Measuring and Marking the Fence Layout

Accurate measurement and marking are essential for a successful fence installation. Start by determining the exact location of your property lines to ensure that your fence is within your property boundaries. Consult your property survey or contact your local zoning department for assistance if needed. Once you have established the property lines, use a measuring tape to determine the length of each fence panel. Mark the starting and ending points of each panel along the fence line. To ensure a straight fence, use a string or chalk line to connect the marks and create a guide for installation. Additionally, consider the layout of your fence gates. Measure and mark the locations of the gate posts, ensuring they are wide enough to accommodate the size of your desired gate. Taking accurate measurements and marking the fence layout will help you plan and execute the installation process more effectively.

Digging Post Holes and Setting the Posts

With the fence layout marked, it's time to dig the post holes and set the fence posts. Start by using a post hole digger to dig holes at each marked location. The depth and diameter of the holes will depend on the height and size of your fence panels. As a general rule, the holes should be approximately one-third of the length of the fence post. Once the holes are dug, insert the vinyl fence posts into the holes one by one. Ensure that each post is level and plumb using a level. You can use a temporary brace or support to hold the posts in place while you pour concrete around them. Prepare the concrete mix according to the manufacturer's instructions and pour it into the holes around the posts. Allow the concrete to cure for the recommended time before proceeding to the next step.

Installing the Fence Panels

With the fence posts set, it's time to install the vinyl fence panels. Start at one end of the fence line and attach the first panel to the corresponding fence posts using screws or brackets. Ensure that the panel is level and plumb before securing it in place. Continue this process for each panel, ensuring that they are properly aligned and securely attached to the posts. If your fence includes gates, install the gate posts and attach the gate hardware according to the manufacturer's instructions. Ensure that the gates swing freely and latch securely.

Choosing the Right Cap Options

Vinyl fence caps not only add a decorative touch but also protect the tops of the fence posts from weather damage. When choosing the right cap options for your vinyl fence, consider the overall style of your fence and your personal preferences. There are various cap designs available, including pyramid caps, ball caps, and solar caps. Select the caps that best complement your fence and enhance its aesthetic appeal.

Securing The Fence And Adding finishing Touches

Once all the fence panels are installed and the gates are in place, it’s time to secure the fence and add finishing touches. Check each panel and gate to ensure they are secure and level. Make any necessary adjustments to ensure a straight and uniform fence line. Secure the panels to the posts using screws or brackets, ensuring that they are firmly attached.

To add finishing touches, clean the fence panels and gates using soap and water. This will remove any dirt or debris accumulated during the installation process. Additionally, consider adding vinyl post skirts or decorative accents to enhance the overall appearance of your fence.

Maintenance And Care For Vinyl Fences

One of the major advantages of vinyl fences is their low maintenance requirements. However, it’s still important to care for and maintain your vinyl fence to ensure its longevity and appearance. Here are some maintenance tips:

  1. Clean your vinyl fence regularly using soap and water to remove dirt, stains, and mildew.
  2. Inspect the fence periodically for any signs of damage or loose components. Replace or repair any damaged parts promptly.
  3. Trim any vegetation near the fence to prevent it from leaning or damaging the panels.
  4. Avoid using harsh chemicals, abrasive cleaners, or pressure washers, as they can damage the vinyl surface.

By following these maintenance practices, you can keep your vinyl fence looking pristine for years to come.

Frequently Asked Questions about Vinyl Fence Installation

Can I install a vinyl fence myself or should I hire a professional?

While installing a vinyl fence can be a DIY project, it requires some level of skill and knowledge. If you have experience with fence installations and the necessary tools, you can attempt it yourself. However, hiring a professional ensures a proper and efficient installation.

Can I install a vinyl fence on uneven ground?

Yes, vinyl fences can be installed on uneven ground. However, it may require additional steps, such as leveling the ground or using longer fence posts to accommodate the uneven terrain.

How long does it take to install a vinyl fence?

The time it takes to install a vinyl fence depends on various factors, such as the size of the fence, the number of panels, and the terrain. On average, it can take anywhere from a few days to a week to complete the installation.

Are vinyl fences more expensive than other types of fences?

While vinyl fences may have a higher upfront cost compared to some other fencing materials, they often prove to be more cost-effective in the long run due to their durability and low maintenance requirements.

Professional Vinyl Fence Installer

Installing a vinyl fence may seem like a daunting task, but with the right tools, materials, and guidance, you can achieve professional results. By following this step-by-step guide, you'll be able to install a vinyl fence that enhances the beauty, privacy, and security of your property. Remember to choose a reputable fencing company like Ekren Fencing Company for high-quality materials and expert advice. So, roll up your sleeves and get ready to transform your outdoor space with a beautiful vinyl fence!